Toggle navigation

Xoopic Modern WooCommerce WordPress Theme

Version 1.0.0

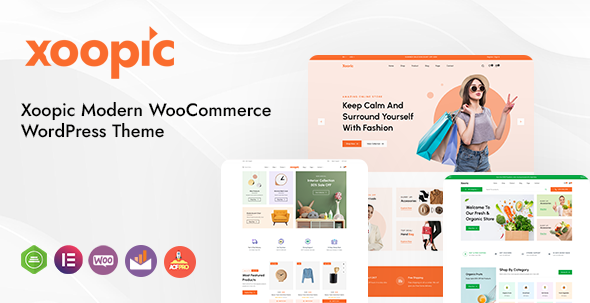
Xoopic is a professional and modern AJAX WooCommerce WordPress Theme powered by Elementor builder. The theme is ready for your digital store, jewelry store, grocery store, sports store, multi-vendor store, clothing store, furniture store, accessories store.
Likewise, this unique theme is integrated with WooCommerce, with many built-in features like variation swatches, ajax search, mega menu, etc.
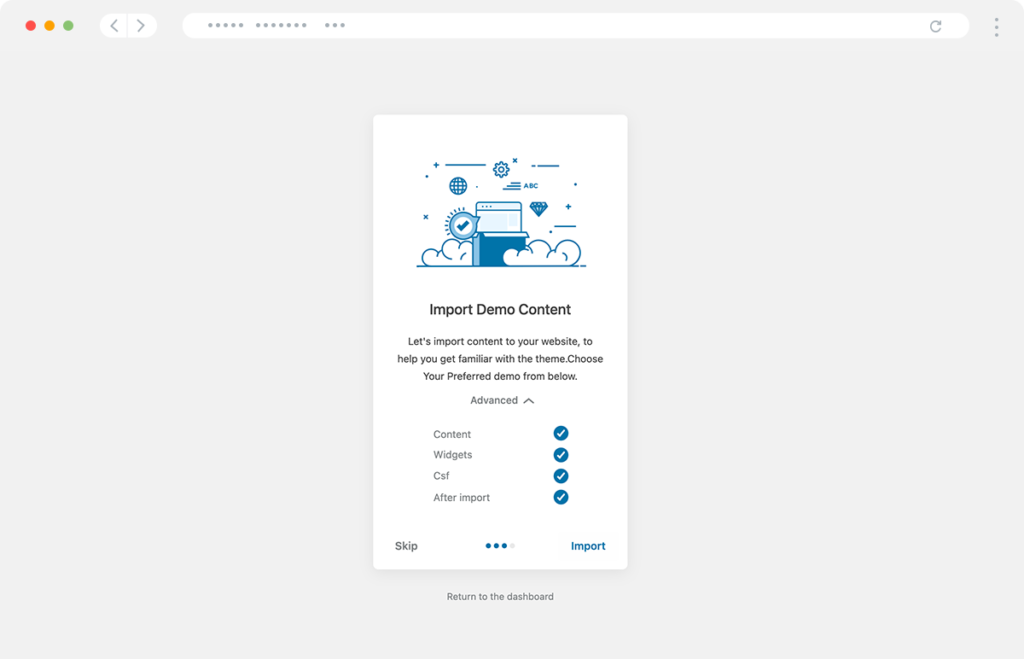
You’ll be able to install the whole demo data, including the theme-required plugins and an auto-generated child theme, just in a couple of minutes. Besides, in case of help is needed with theme installation, our dedicated support team is always ready to assist and guide you for free.

Powerful features to create your next great online store.
Your customers will love its straightforward user experience across all devices.
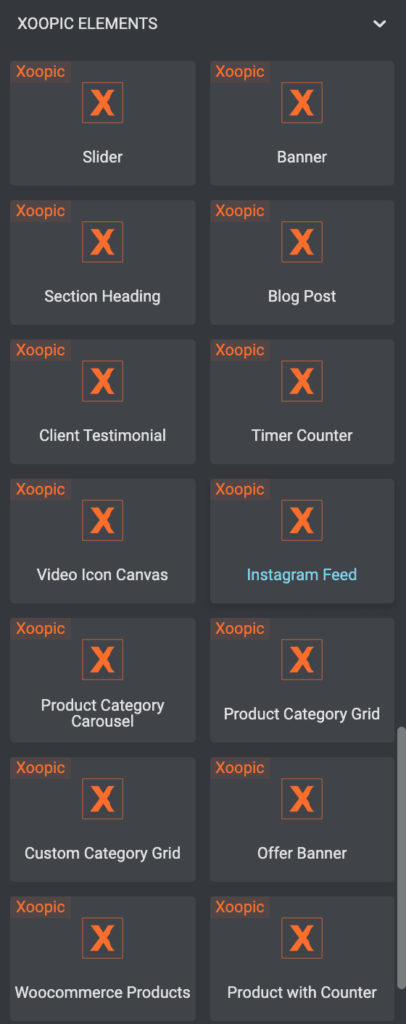
Powered by WooCommerce, the most flexible eCommerce platform in the world, and Elementor, a powerful page builder

  • Modern and Clean Design
  • Responsive Mobile-Ready Layout
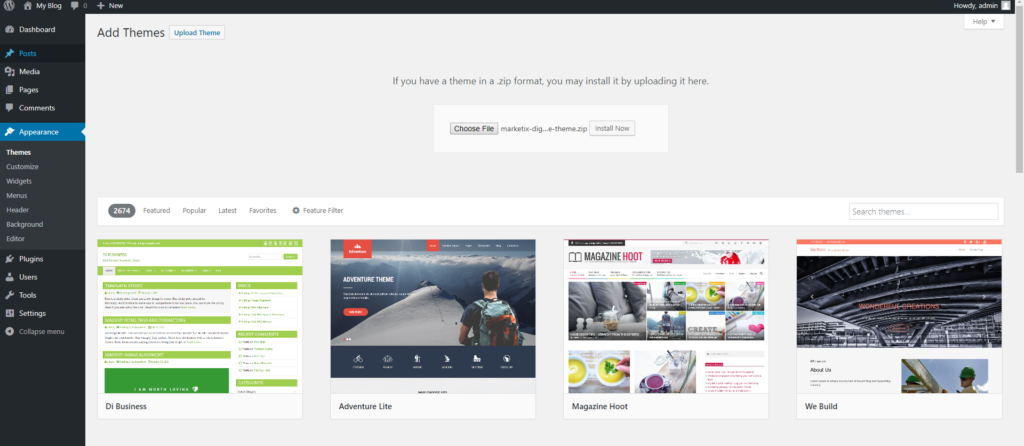
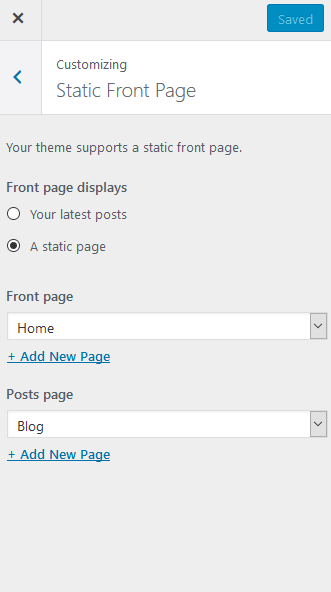
  • Simple Installation and One-Click Demo Import
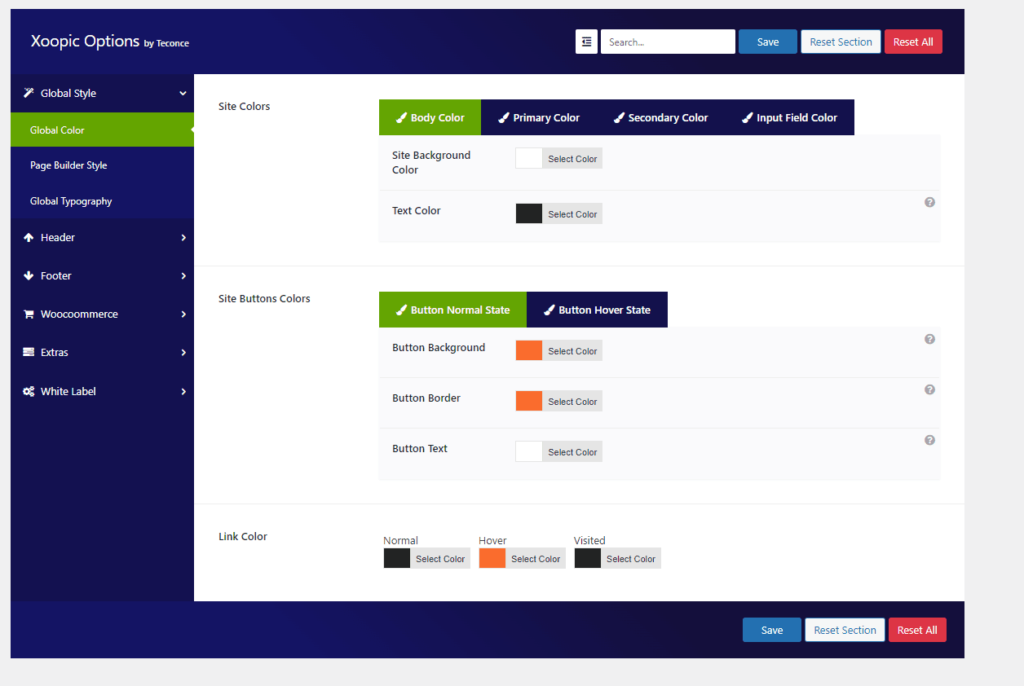
  • Powerful Customization Options
  • AJAX WooCommerce Features
  • Beautiful Product Grid Layouts
  • Header & Footer Builder Powered By Elementor
  • Built-in Ajax Search Option
  • Built-in Variation Swatches
  • Built-in Mega Menu
  • Huge Options
  • Speed and SEO Optimized
  • Retina Ready

Install the WordPress

Please go to http:// wordpress.org and download the current version of WordPress. For information on how to install a WordPress Platform, please see the WordPress codex page http://codex.wordpress.org/ Installing_WordPress.

Install the Theme

When you are ready to install a theme, you must first upload the theme to your WordPress directory. There are two ways you can install the theme:

• Using FTP: By using any FTP program of your choice you can upload the non- zipped folder to the /wp-content/themes/ folder on your server.

• Using WordPress: Navigate to Appearance > Themes > Install Themes. Go to upload and select the zipped theme folder and hit install now and theme will be uploaded and installed. Once you have uploaded the theme, you need to active it. To activate your new theme, go to Appearance > Themes and activate your chosen them


Install the Plugin

After installing the theme, you will be redirected to auto-installer. just follow the steps & install the required plugins. It’s very easy & automated.

Click on the “Begin installing plugins” link to begin the installation.
 Once you install the plugins, please return to the plugins list, and activate it. That’s it, you should be good to go.

Import the dummy data for a quick start using the theme.

You can set up Dummy with one click. Follow Instruction.

After setup Required All Plugins. Go to Appearance > Import Demo Data & Just Click to Your Demo Import button & Wait Few times. Magic Start

Theme Option

Our Theme Option Based on the Codestar Framework Pro. Our Theme Panel Options is too much easy. There have the Following Menus:

  • Global Style
  • Header
  • Footer
  • Page Options
  • Blog Options
  • WooCommerce
  • Extras
  • White Label

You can find the easiest Options in every section. Start to Customize colors, fonts, header style, etc

Stay Updated we will add more options on the next update.

Widgets

Go to Appearance > Widgets, you can manage all the widgets including the home page. We have 17 Custom Widgets. Use as you wish.

Page Setup

Create Pages As you need. You can on/off pages Sidebar. We are Providing a Full-width Page template for Full-width pages. Also, 19 Elementor custom elements to make your page Attractive.

We also Provide an Author list page template for Blog. You should know We have a full place blog Engine.

Also, We have a Sitemap Page template it will help you to make a Sitemap Page.

Go to “Appearance > Customize”, go to “Static Front Page”, choose “A static page” and select a “Front page” From Page List.
Also, You can do This By Settings> Reading & Same Process

Configuration Menu

go to “Appearance > Menu” Option & Create menu as you Need & Locate in a header.

If You Import Demo Data Demo menu will be there. You can customize them too.
You can use a mega menu too with xoopic mega menu. check details on mega menu section

Note these are simply the posts to display your Products. To learn more on how to set up your Products, please visit Woocommerce.

The downloads are the meat and potatoes of this theme, and likely of your website. To add a new product post, go to Products -> Add New. On this page, put your Product title in the title box and then a description into the main editor. Below this, you can input your product info, which again, is documented at https://woocommerce.com/documentation/plugins/woocommerce/.

You’re now going to want to upload images. You should have at least one image to act as the Featured Image. Click the Upload/Insert Media button located above the top left of the editor. Upload as many images as you want, and make sure to set one as the featured image. No need to actually insert any images into the post though, a lightbox gallery on single product pages is inserted automatically when you upload more than one image to a product post. To upload images into a product post as you normally would, and the gallery will automatically be built. Be sure that you have one of them set as your featured image though!

Go ahead and hit the blue publish button in the top right and BLAM! Your product is posted and for sale. Repeat this step for all of your products.

After Installing your theme you will be redirected to an installer. There is an automated child theme creator step. Just click & enjoy.

The child theme will include a blank style.css and functions.php

You can Customize as you need

Xoopic Core

Install the core plugin to enhance your theme experience. We have too many options & functions that you will be able to run by the core plugin.

ACF Pro

Xoopic Includes ACF pro. You can use ACF fields as you needed.

Convert Plus

We have prepackaged premium plugins like convert plus. You can make popup forms easily by that plugin. Please follow their guideline to use it: Convert Plus Docs

WPC Smart Compare

Xoopic using WPC Smart Compare for the comparison between products. here are the docs to configure the plugin.

YITH Ajax Product Filter

You will be able to filter your product by color, tags & attributes wise by this plugin. To configure please check their docs.

We have 20+ Custom Elementor Elements. Which can give you a great site Customization Experience? In Every Update, This 20+ count will be More.